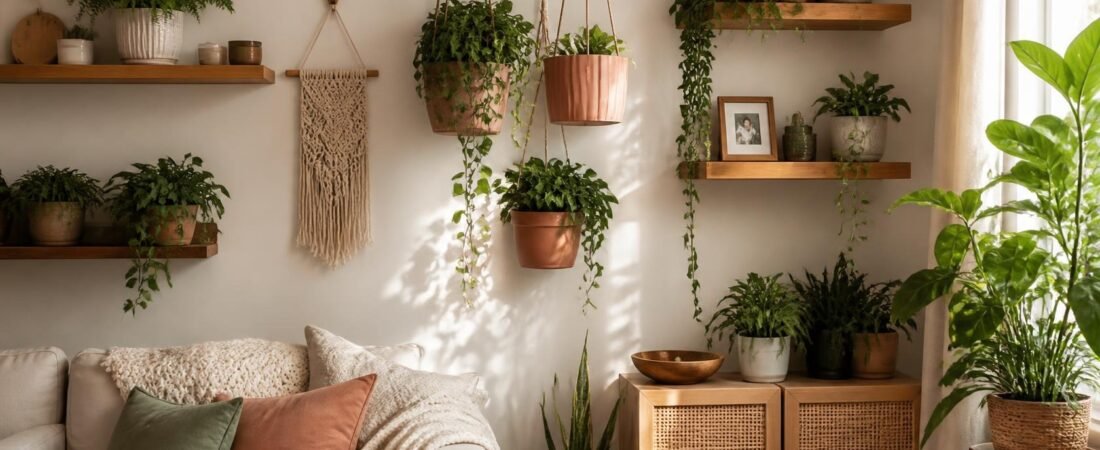
Hi friend! If you saw my wall decor pin on Pinterest and wondered how I put it all together, this post is for you.
For a long time, my walls were completely bare. I kept telling myself I’d decorate “someday,” but store-bought decor was expensive and never quite felt like me.
So I started making my own. Little by little, one weekend project at a time, my plain walls turned into my favorite part of the house. Today I’m sharing the 9 easy DIY wall decor ideas I actually made, with materials, steps and my honest tips.
No fancy tools, no big budget. Just a few supplies, a cup of something warm, and a little patience. Let’s get started!
1. Hanging Terracotta Wall Planters
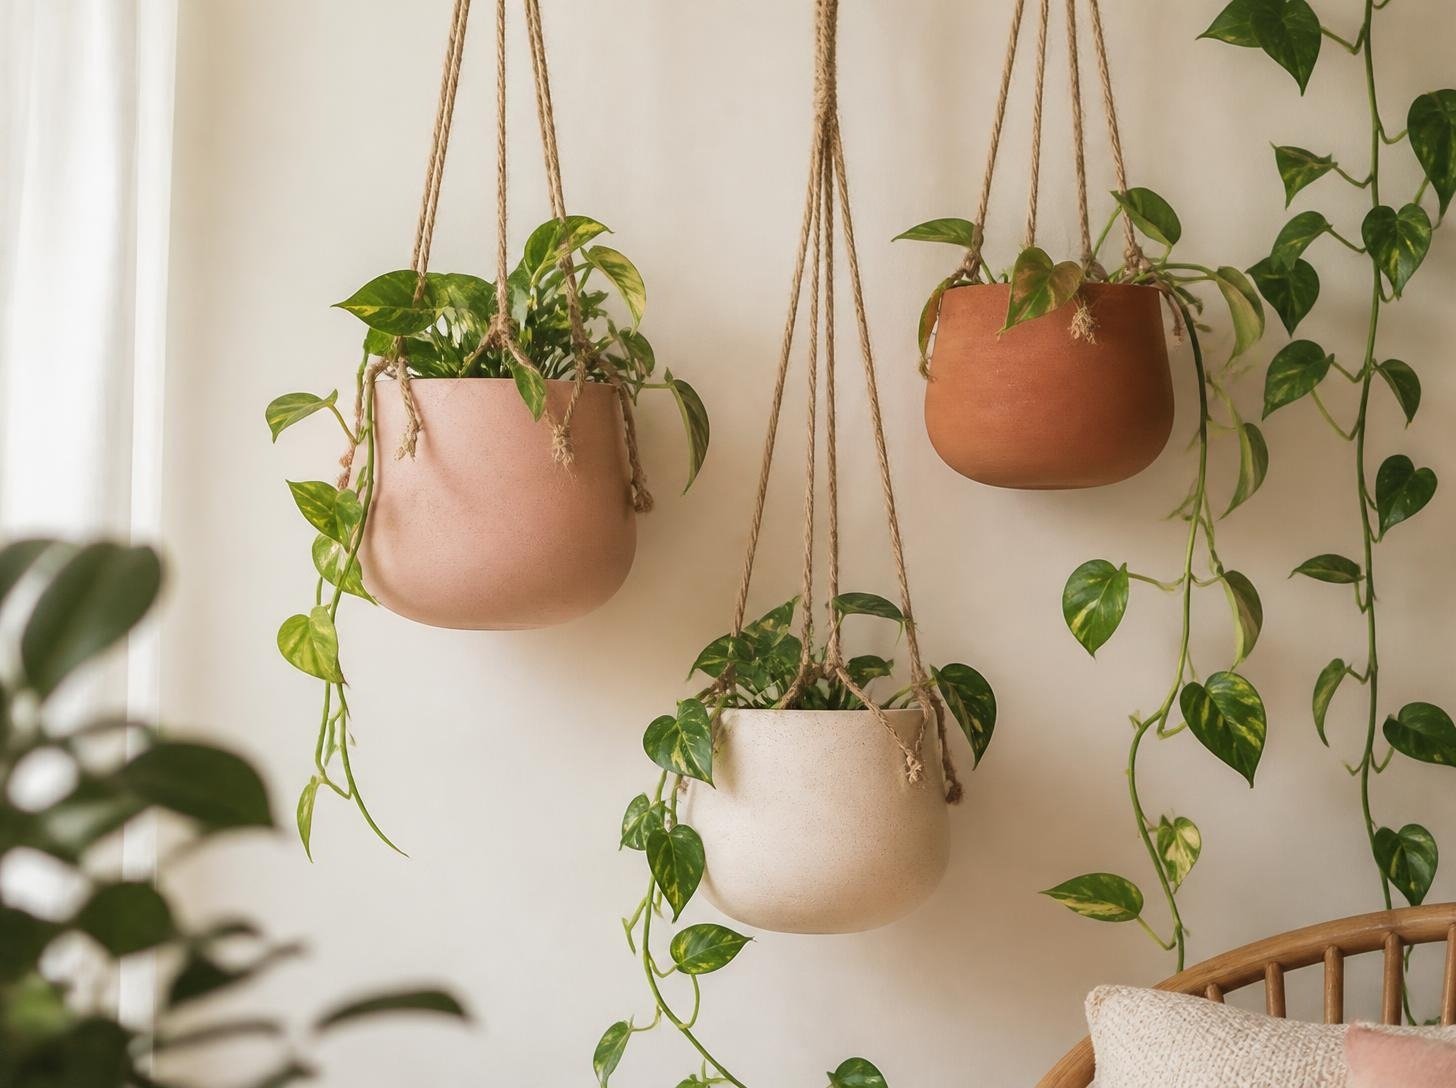
This is the project that started it all for me, and it’s still the one I get the most questions about. Greenery instantly makes a wall feel alive.
Materials
- 3–5 small terracotta pots
- Acrylic paint (blush pink, cream, sage)
- Jute rope or leather strips
- Wall hooks
- Trailing plants like pothos or string of hearts
Steps
- I wiped the pots clean and let them dry fully.
- Next, I painted simple color blocks, a half-dipped look, or arches on each pot. Two thin coats work better than one thick coat.
- I threaded jute rope through the drainage hole and tied a big knot inside so the pot hangs securely.
- I hung them at slightly different heights for a relaxed, natural look.
- Finally, I added my plants and let the vines spill over.
My tip: Seal the painted pots with a clear matte sealer so watering doesn’t make the paint peel.
2. Simple Floating Wood Shelves
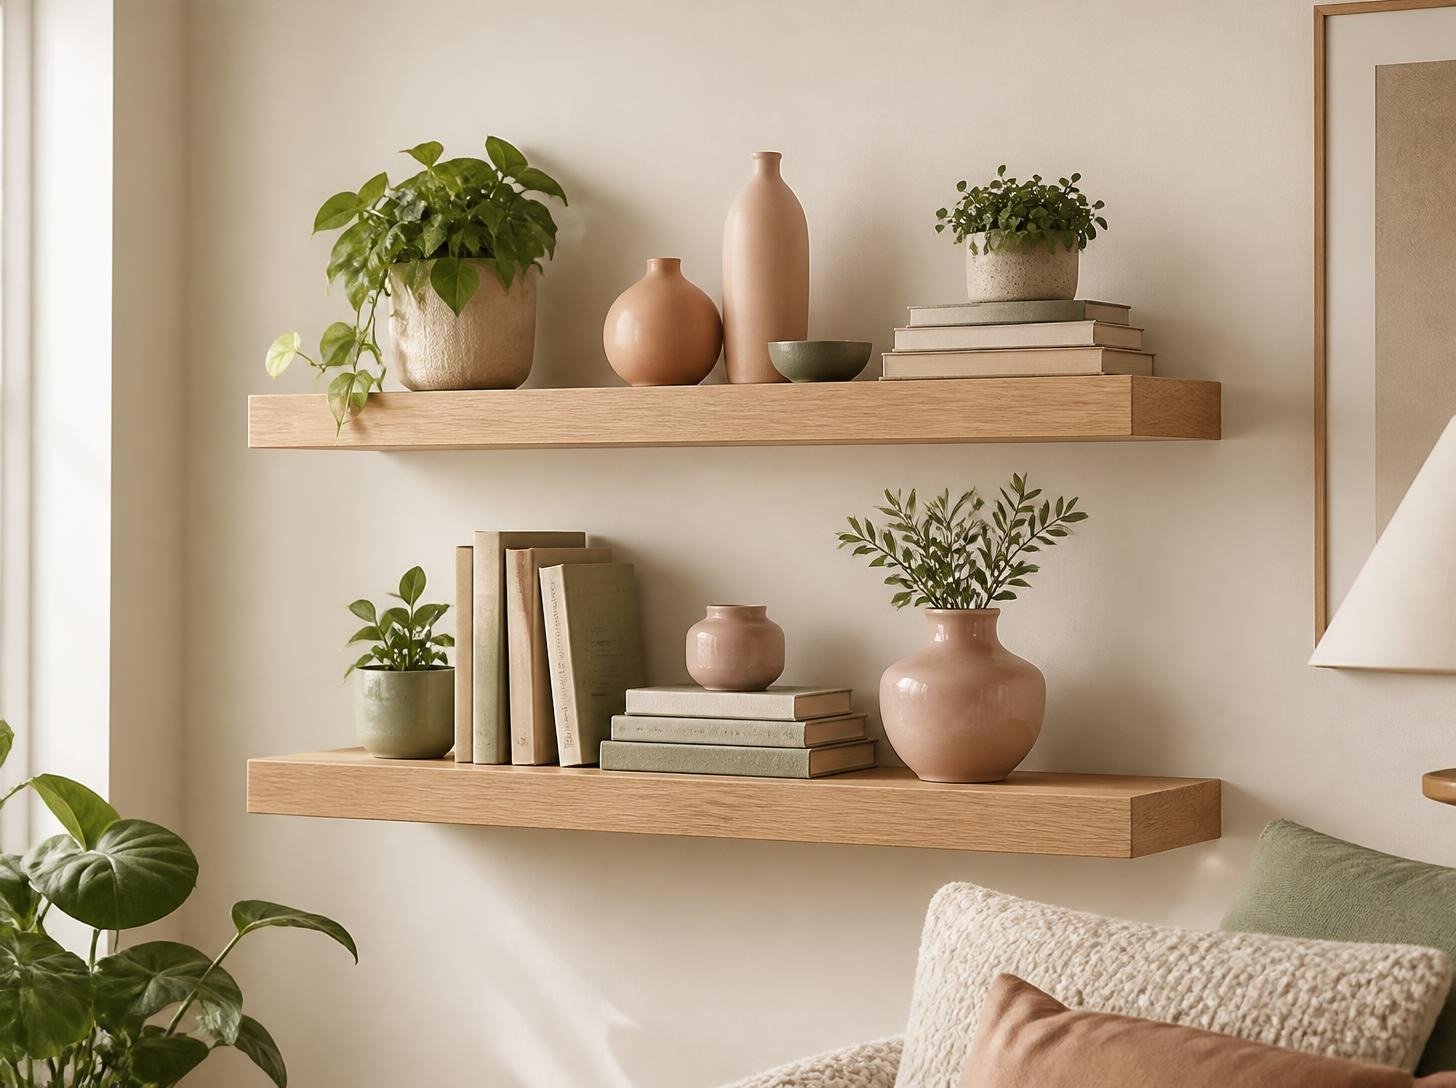
Shelves give me a place to style little things I love, and I can change them with the seasons.
Materials
- Pine boards cut to size (most hardware stores cut them for free)
- Sandpaper
- Wood stain or light wax
- Hidden floating shelf brackets, screws and wall anchors
- A level
Steps
- I sanded every edge until it felt smooth.
- I applied a light oak stain and let it dry overnight.
- Using a level, I marked the bracket spots and screwed them into the wall with anchors.
- I slid the shelves onto the brackets.
- Then I styled them with books, small plants and ceramic vases.
My tip: Style in odd numbers (groups of 3) and leave some empty space. It looks calmer and more “designed.”
3. Boho Macrame Wall Hanging
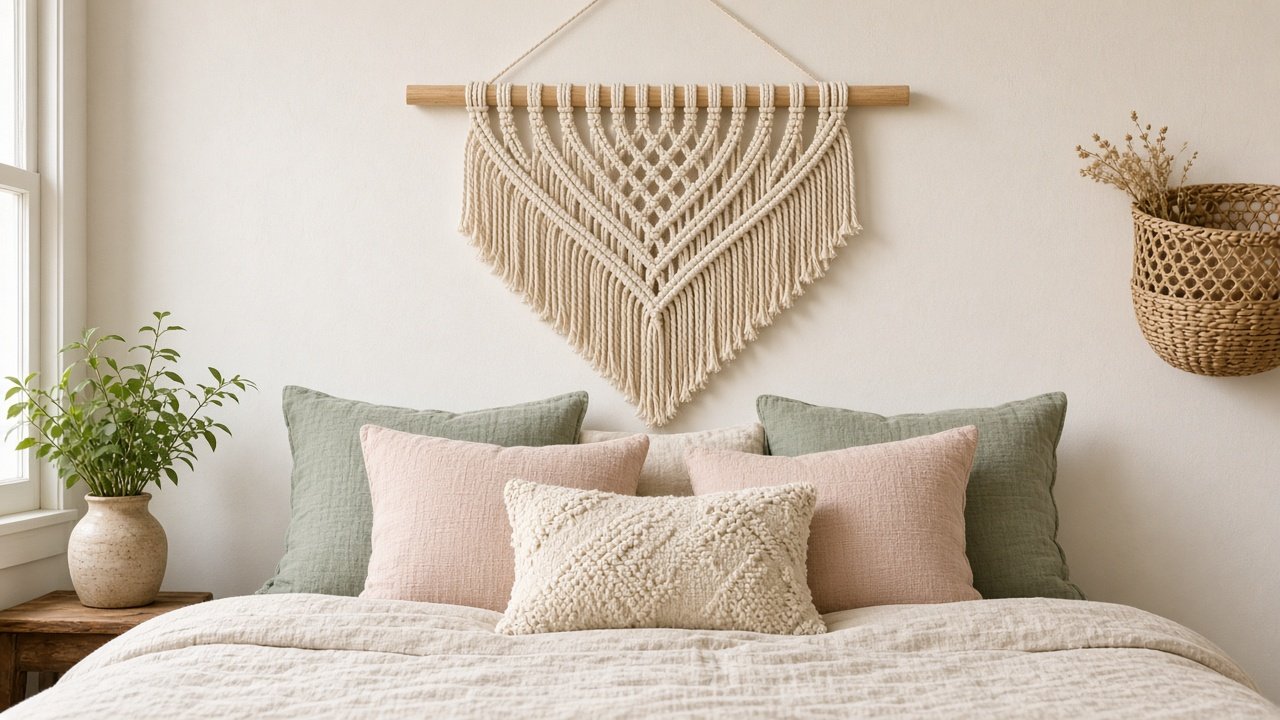
I was nervous about macrame, but honestly, you only need one knot to make something beautiful.
Materials
- Cotton macrame cord (4–5 mm)
- A wooden dowel or a smooth branch
- Scissors and a comb
Steps
- I cut 12 cords, each about four times the length I wanted.
- I folded each cord in half and attached it to the dowel with a lark’s head knot.
- Then I tied rows of square knots, shifting them each row to make a simple V pattern.
- I trimmed the ends into a straight or angled line.
- Last, I brushed out the ends with a comb for that soft, fluffy fringe.
My tip: Hang the dowel on a hook while you knot. It’s so much easier than working on a table.
4. Pressed Flower Frames
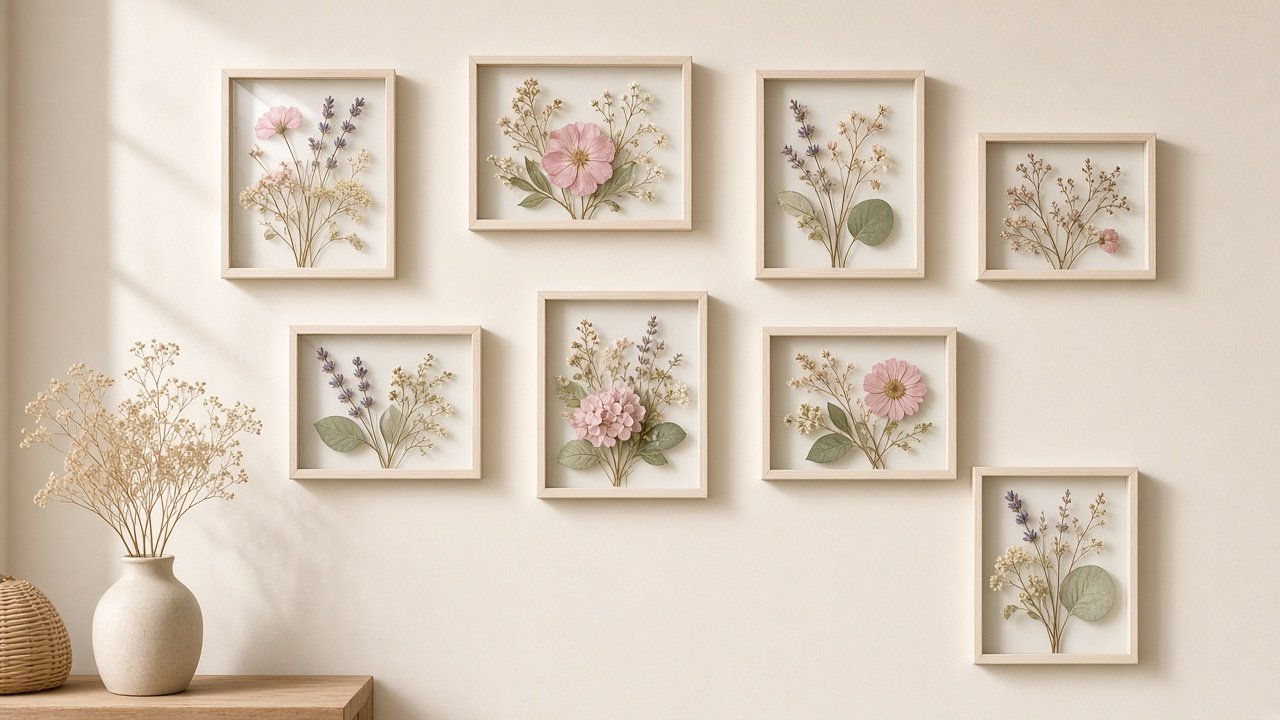
This one is so sweet and almost free. I pressed flowers from my garden and from a bouquet I didn’t want to throw away.
Materials
- Fresh flowers and leaves
- A heavy book and parchment paper
- Double-glass floating frames
- Tweezers
Steps
- I placed flowers between parchment sheets inside a heavy book.
- I stacked more books on top and waited about two weeks.
- Using tweezers, I arranged the dried flowers on the glass.
- I closed the frame carefully so nothing shifted.
- I hung three frames in a row for a soft, botanical look.
My tip: Flat flowers like pansies, daisies and ferns press best. Keep frames away from direct sun so the colors last longer.
5. Woven Basket Wall Display
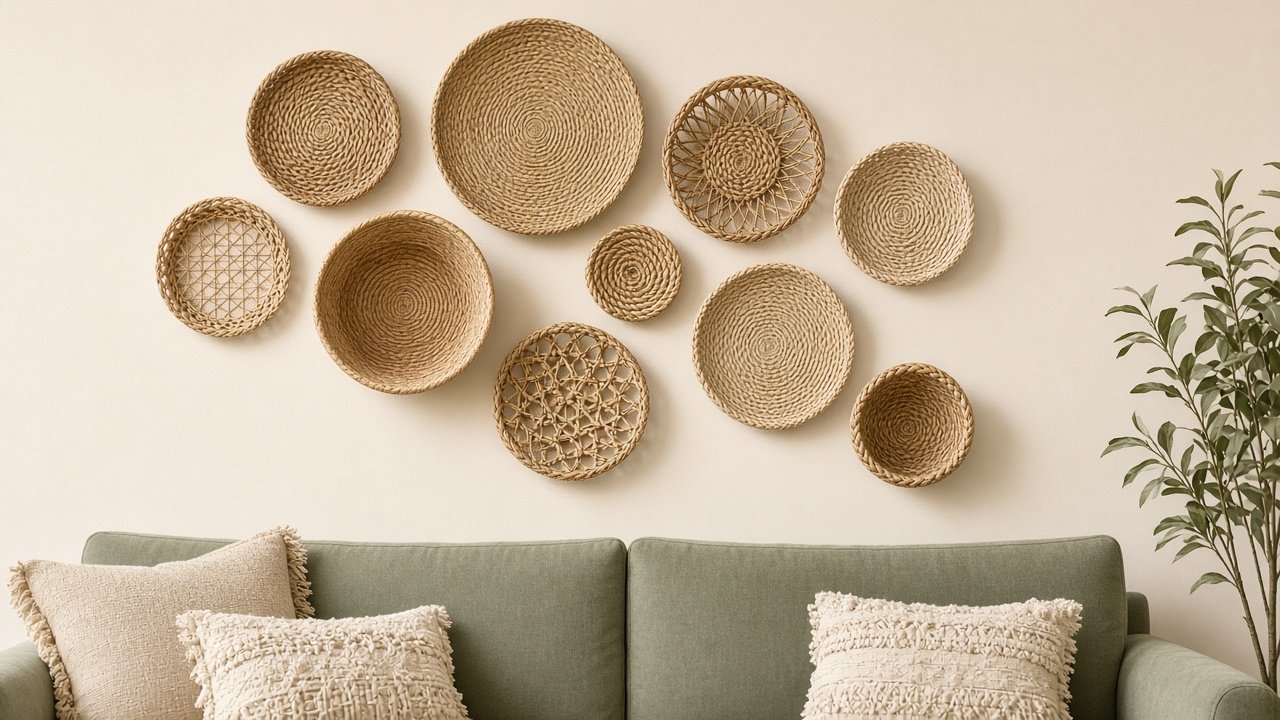
If you have a big empty wall, this is my favorite fast fix. It adds so much texture and warmth.
Materials
- 5–7 flat woven baskets or trivets in different sizes
- Small nails or removable hooks
- Paper and painter’s tape
Steps
- I traced each basket on paper and cut out the shapes.
- I taped the paper shapes on the wall and moved them until the layout felt balanced.
- I put a nail at the top of each paper template.
- Then I removed the paper and hung the baskets.
My tip: Start with the largest basket slightly off-center and build around it.
6. Painted Arch Accent Wall
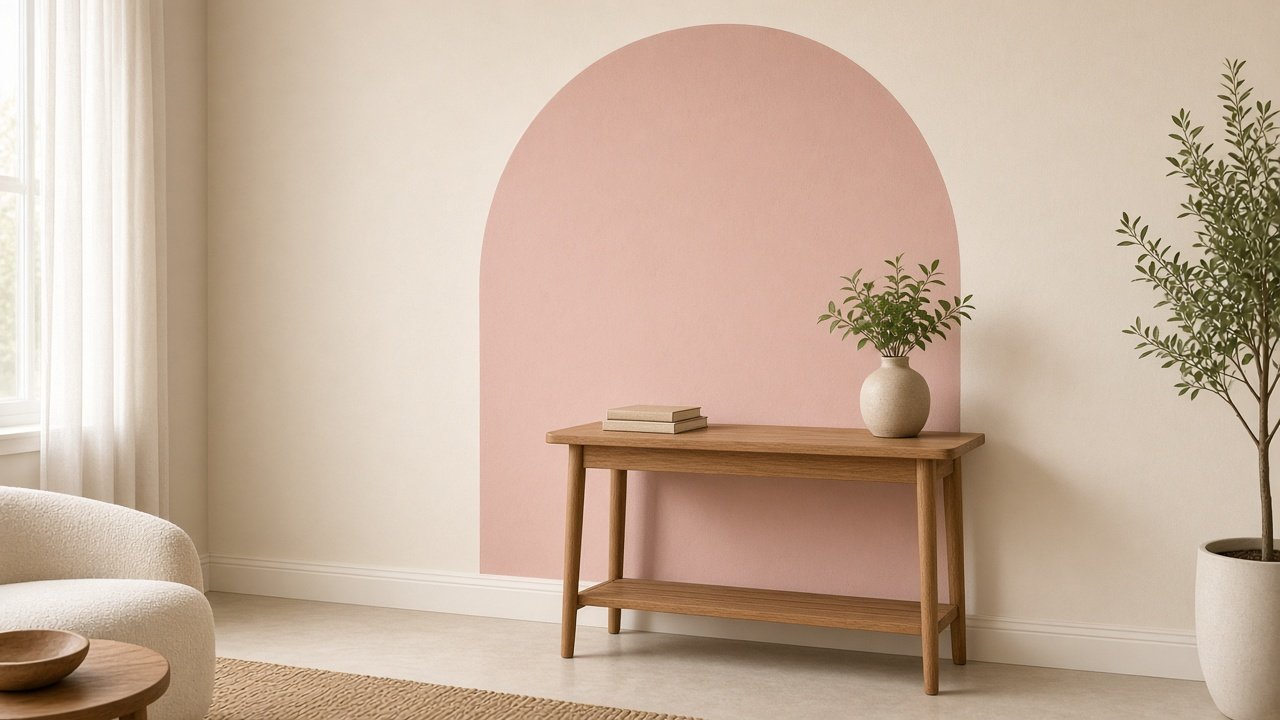
A painted arch makes a corner feel special without buying anything new. I did this behind my reading nook.
Materials
- A sample pot of paint (I used dusty blush)
- Painter’s tape, pencil and string
- A small angled brush and a mini roller
Steps
- I tied a pencil to a string and pinned the other end to the wall to draw a perfect half circle.
- I drew straight lines down from both sides of the curve to the floor.
- I taped the straight edges and painted the curve slowly by hand.
- I rolled two coats inside the arch.
- I peeled the tape while the last coat was still slightly wet for crisp lines.
My tip: Choose a soft, muted color. Bright shades can overpower a small room.
7. Mini Plant Wall with Fairy Lights
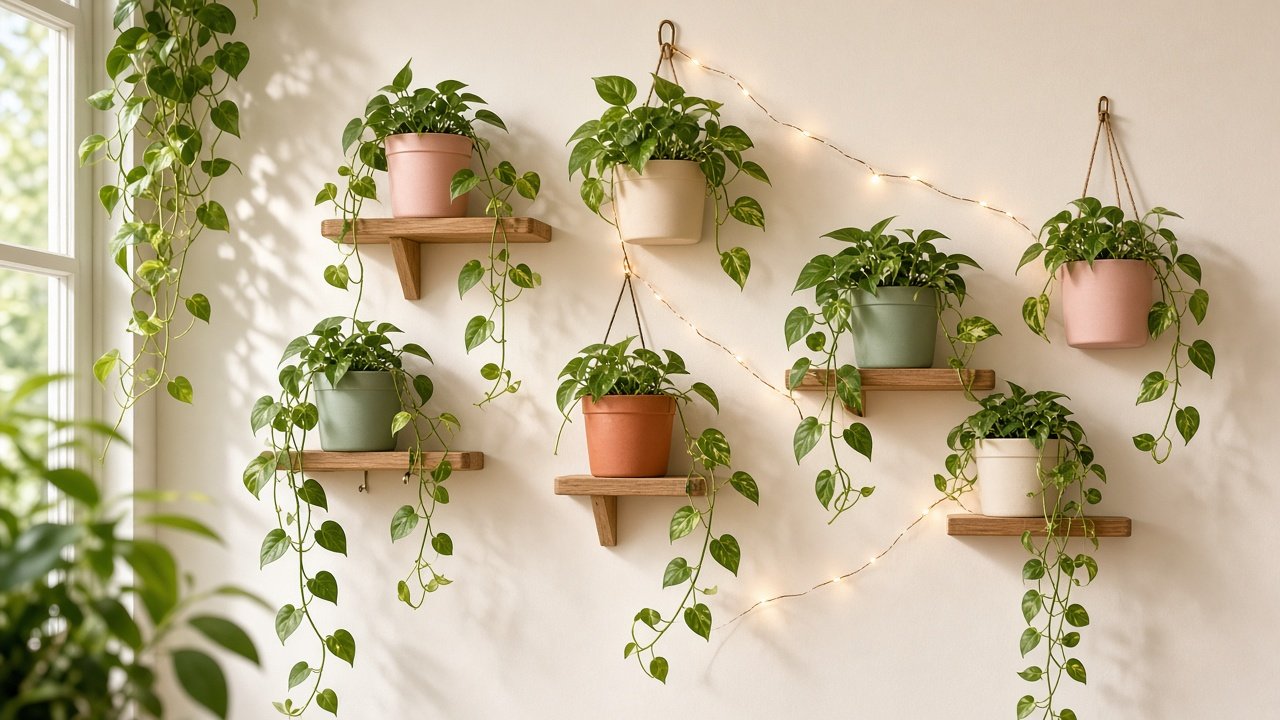
This one is my absolute favorite. I turned a plain empty wall into a little green corner with small pastel pots, tiny wooden ledges and a string of warm fairy lights. It makes my whole room feel fresh and cozy.
Materials
- 5 to 7 small pots in blush pink, sage, cream and terracotta
- Small wooden ledges or mini shelf brackets
- Jute rope and wall hooks for the hanging pots
- Trailing plants like pothos (real or faux)
- A warm white fairy light string
Steps
- I painted a few plain pots in soft pastel shades and let them dry.
- I laid everything out on the floor first to plan a balanced, zig-zag layout.
- I fixed the small ledges to the wall at different heights.
- I hung two or three pots with jute rope from hooks between the ledges.
- I placed my trailing plants and let the vines fall naturally.
- Finally, I draped the fairy lights loosely between the pots.
My tip: If you don’t get much sunlight, faux pothos looks just as pretty and needs zero care.
8. Mini Mirror Cluster
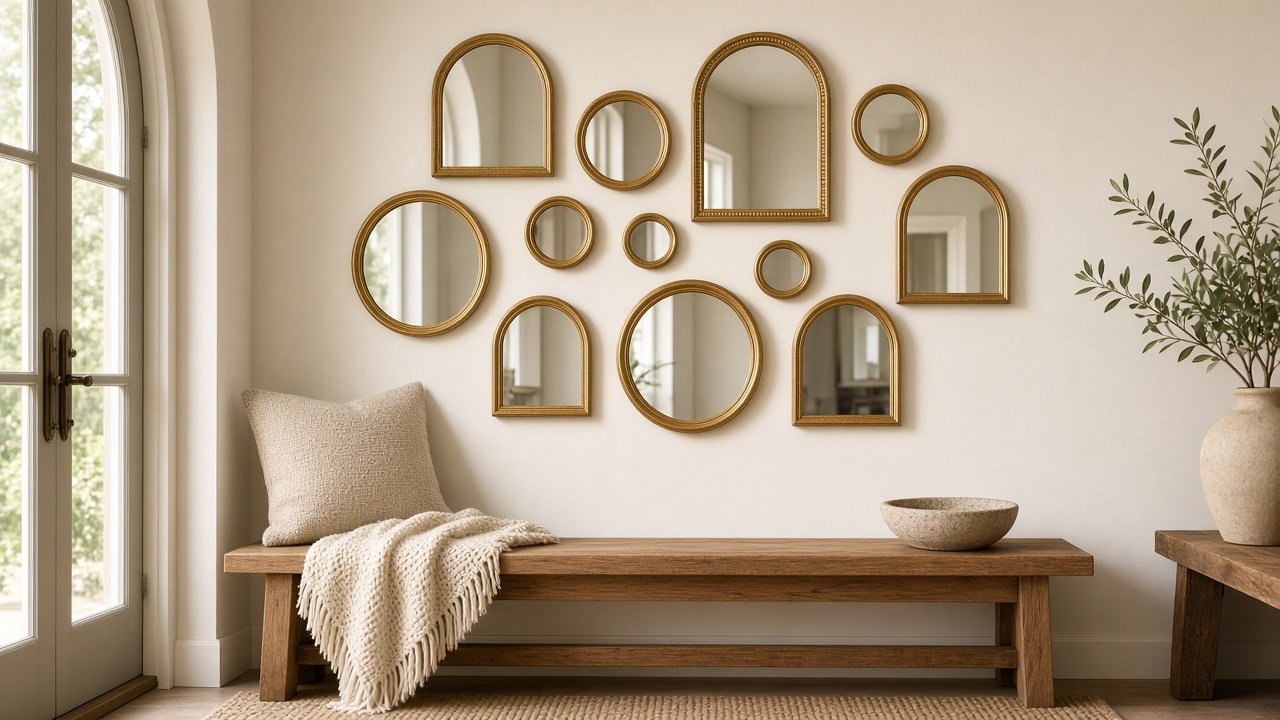
Mirrors bounce light around and make a small space feel bigger. My hallway feels so much brighter now.
Materials
- 5–9 small round mirrors (thrift stores are perfect)
- Gold spray paint or jute rope to wrap the frames
- Strong mounting strips
Steps
- I cleaned the mirrors and covered the glass with paper.
- I spray painted the frames gold outside and let them dry.
- For a couple of mirrors, I wrapped the edges with jute rope instead.
- I laid them out on the floor first, then stuck them on the wall in the same pattern.
My tip: Mix sizes and textures, but keep the shape (round) the same so it looks intentional.
9. Fabric Hoop Wall Art
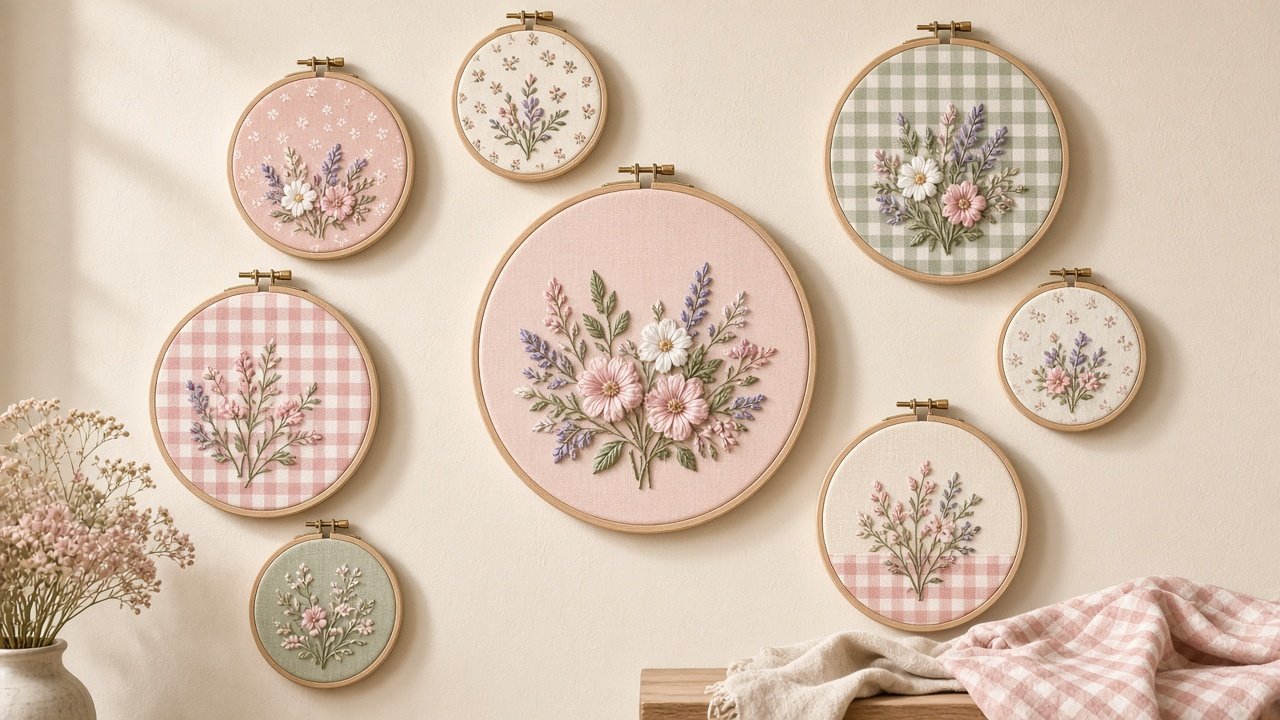
This is my go-to project for using up pretty fabric scraps. It’s perfect for a kids’ room or a cozy corner.
Materials
- Wooden embroidery hoops in mixed sizes
- Fabric scraps (florals, linen, gingham)
- Scissors and a little fabric glue
Steps
- I placed fabric between the inner and outer hoop and tightened the screw.
- I pulled the fabric taut so there were no wrinkles.
- I trimmed the extra fabric and glued the edges to the back of the inner hoop.
- I hung the hoops on small nails in a loose cluster.
My tip: Pick one color that repeats in every fabric. That’s the secret to making mixed prints look cohesive.
My Best Tips for DIY Wall Decor on a Budget
- Pick a color palette first. Mine is cream, blush, sage and natural wood.
- Thrift and reuse. Old frames, baskets and mirrors are full of potential.
- Use removable hooks if you rent.
- Go slow. I add one piece at a time and live with it for a few days.
Frequently Asked Questions
What is the cheapest DIY wall decor?
For me, pressed flower frames and fabric hoop art cost almost nothing, especially if you already have flowers or fabric scraps at home.
How do I hang decor without damaging the walls?
I use removable adhesive hooks and strips for anything light, like hoops, prints and small mirrors. Just check the weight limit on the pack.
How can I make a big empty wall look full?
A woven basket display or a painted arch fills a lot of space quickly. Pair it with a plant or a shelf to finish the look.
Which ideas are good for beginners?
Start with the basket wall, pressed flowers or fabric hoops. They need no special tools and are very forgiving.
Final Thoughts
Decorating my walls myself has been one of the most rewarding things I’ve done for my home. Every piece reminds me of a slow, happy afternoon spent making it.
I hope these easy DIY wall decor ideas inspire you to try one this weekend. Which one are you making first? Let me know in the comments, and don’t forget to save this post to your Pinterest board so you can find it later!