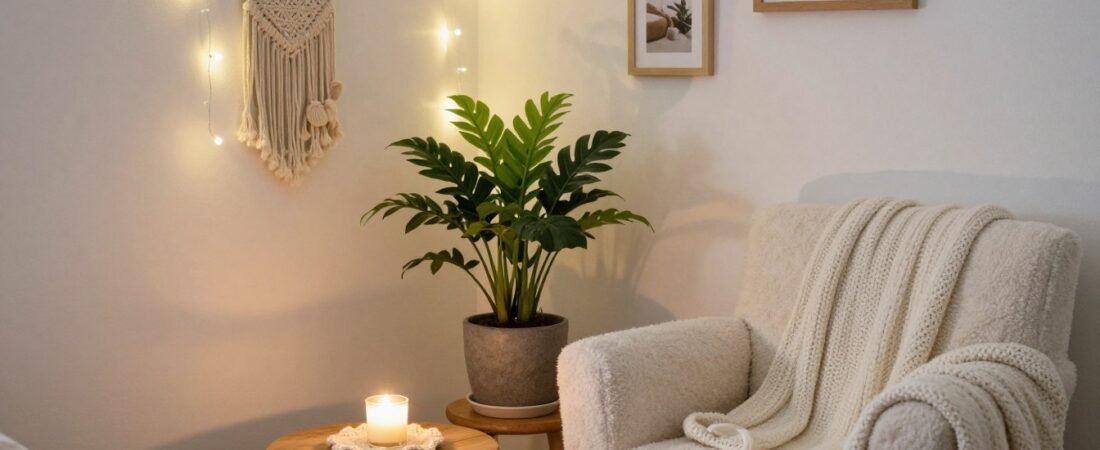
Can DIY room decor ideas on a budget make a bedroom or another room feel more welcoming without replacing everything? Yes: start with what you own, then refresh one small area at a time.
A color palette is a small, intentional group of colors that you repeat across walls, textiles, and decor. You can use this simple idea to bring new details together, even if your room has mixed furniture or limited space.
These beginner-friendly projects cover handmade art, wall updates, lighting, furniture refreshes, and soft details. You’ll also find practical styling advice, materials to consider, alternatives for renters, and realistic costs only where estimates are available.
Choose a corner, shelf, or bedside area that could use a little care. Keeping the work focused makes it easier to use supplies you already have and enjoy the result without taking on too much at once.
Key Takeaways
- Start with one area and set a firm spending limit.
- Check what materials, frames, and textiles you already own.
- Use a color palette to link new details to existing decor.
- Choose safe hanging and lighting methods for your room.
- Leave some open space so useful surfaces stay easy to use.
Before you choose your first project, set a spending limit that feels comfortable for you.
Set a Budget and Pick the First Area to Refresh
Refreshing one visible corner, such as the space beside your bed, is easier to plan than a full-room makeover. Start small by choosing the area you notice most when you enter.
A focused makeover can be planned for under $100, but your total depends on what you own and what you buy. Set a firm cap, check prices before starting, and keep a 10-15% buffer for extra paint, missing tools, or minor repairs.
Look at the room before making a shopping list. A bare wall may need more attention than a crowded dresser, while a dark corner may call for a better lamp placement, not new decor.
Use this comparison to weigh home decor DIY ideas against what you already have. The possible purchase is optional, not a requirement for every area.
| Priority | Use what you own | Possible purchase | Why start here |
|---|---|---|---|
| Walls | Rehang a print or photo | Paint or a basic frame | Visible change at eye level |
| Lighting | Move a lamp near the bed | Warm-white bulb or hooks | Helps the room feel softer at night |
| Bed textiles | Fold a throw at the foot | One accent cushion | Refreshes a large bedroom feature |
| Furniture layout | Switch a chair and small table | None needed | Can improve flow without buying items |
The 3-5-7 decorating guideline suggests grouping accessories in odd-numbered sets. Three items often suit a small surface, but this informal aid should never outweigh balance or function.
Use the checklist to keep your first home project clear and manageable:
- Choose one area to refresh.
- Set a firm spending cap.
- List the supplies you already have.
- Check prices and set aside a contingency.
Once you’ve chosen a focus, a small wall project is a simple way to begin with a clear limit.
1. DIY Room Decor Ideas on a Budget: Paint an Accent Wall
One carefully chosen wall can create a focal point without changing every wall in the room. Pick a wall that naturally draws the eye, such as the one behind your bed.
Choose a color that works with your existing bedding and furniture, rather than building the whole room around one new paint shade. Test the color on a small patch and view it in both daylight and evening light.
Gather painter’s tape, a drop cloth, paint tray, roller, and angled brush. You may also need a patching product, a sanding block, and a small container for touch-ups.
Prepare the surface as the paint label directs. Patch small flaws, let the patch dry, and protect the floor, trim, and nearby furniture before taping the edges.
Follow the paint label for application and drying times. Keep windows open when practical, and avoid moving furniture back until the surface feels dry as directed.
If painting is not allowed in your rental, try removable art or a fabric panel instead. Peel-and-stick wallpaper may suit some walls, but check the product directions and rental rules first.
Use this five-step sequence to keep the job organized:
- Choose a wall and test the paint color.
- Patch and prepare the surface as directed.
- Cover the floor and move nearby items.
- Tape edges, then apply paint according to its label.
- Let the paint dry as directed before restoring the room.
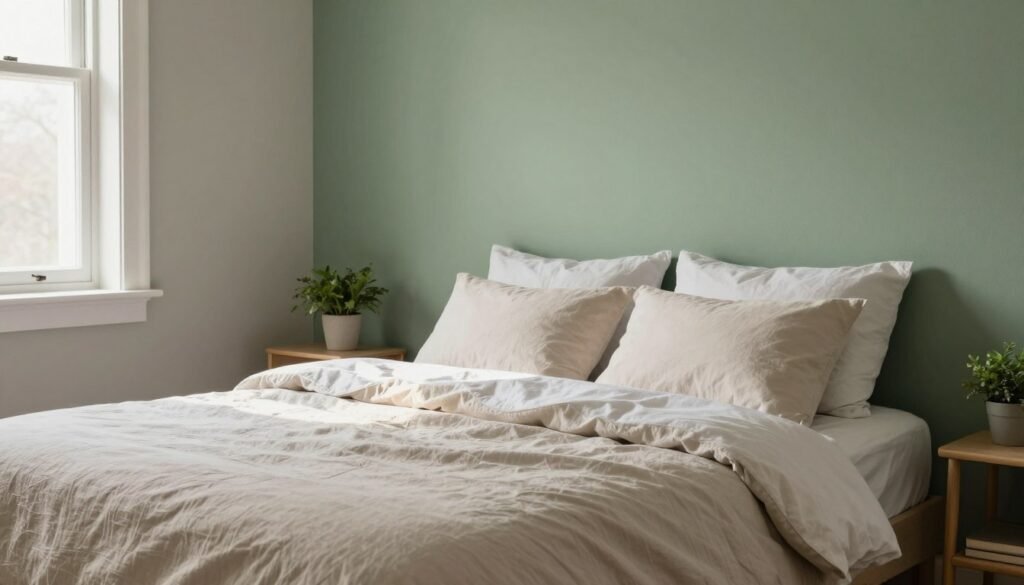
This is one of the simple DIY room decor ideas on a budget that changes a room’s mood with one main surface. For more texture, try lightweight handmade wall art instead of paint.
2. Make Handmade Paper and Fabric Wall Art
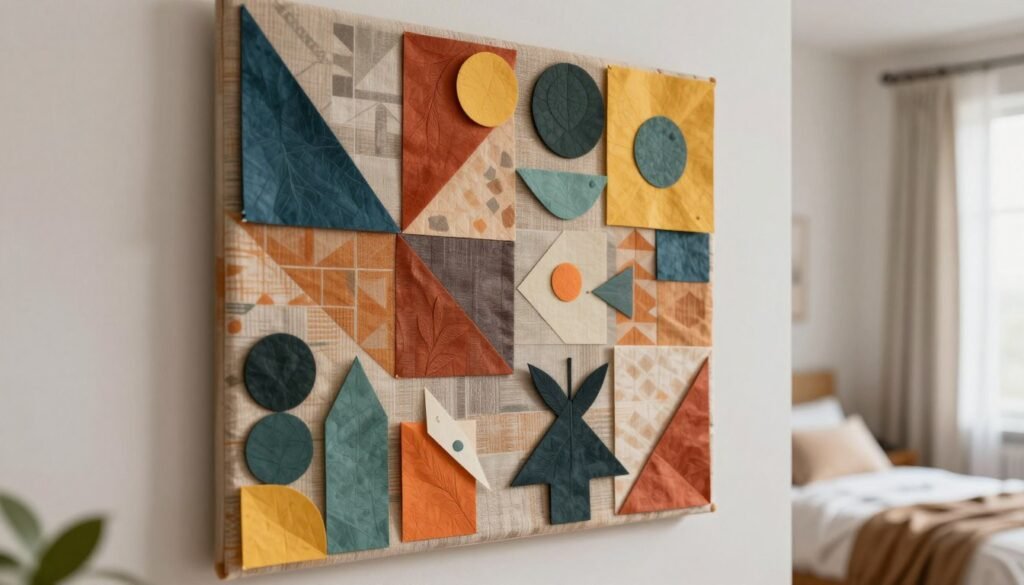
Leftover patterned paper can become a coordinated artwork when you repeat a few shapes or colors. Arrange first, then choose a frame or hanging method that suits the wall.
Test any hanging method before using it on a delicate wall, since adhesives do not come off every surface cleanly. A frame can protect the art and make it easier to move later.
Turn Paper Into Simple Graphic Art
Gather colored paper, old cards, or magazine pages, plus scissors and a frame. Cut simple circles, arches, or leaf shapes, keeping the size large enough to see from across the room.
Arrange the pieces on a table before attaching them to a backing sheet. Repeat one color or shape to make the art feel intentional, then place it in a frame or use a suitable removable hanging product.
For home decoration ideas handmade with paper, a simple two-color design can feel calmer than a crowded mix. If you lack a frame, make a small grouping that can sit on a shelf instead of hanging it.
Stretch or Frame Fabric Scraps
Use a scarf, patterned sheet, or fabric remnant, then stretch it over a frame or simple wooden support. Pull the fabric taut, fold the edges to the back, and secure them with suitable fasteners.
A thrifted frame can give the fabric a neat edge. A simple rod is another option, as long as the support and hanging method suit the fabric’s weight.
Display one fabric panel above a bed or desk, where it can act as a single accent. Keep the pattern linked to a color already in the room, such as a pillow or rug.
Paper shapes and fabric can also sit together as separate pieces. Leave space around each work so the different textures do not compete.
If you want a larger statement behind the bed, a simple DIY headboard can make that area feel more finished.
3. Build a Simple DIY Headboard
The bed often becomes a room’s visual anchor, so a headboard can make the whole setup feel more finished. Keep the shape simple if this is your first build.
Measure the bed width before choosing a board or fabric, and check how the finished piece will stay stable. A headboard should not wobble, lean into a walkway, or rest where it could fall.
You can use a smooth plywood board, inspected reclaimed wood, or a padded board wrapped in fabric. Reclaimed wood needs careful inspection and preparation; a pallet is not automatically safe or ready to use.
For the padded option, gather a board, foam, fabric, scissors, and a staple gun. You may also need measuring tape and fasteners suited to the board and the wall or bed frame.
Measure the bed, then mark the board’s width and chosen height. Smooth sharp edges, check the board for splinters, and cut or ask a hardware shop to cut the board safely.
For a fabric finish, place foam over the board and pull fabric over it. Fold the fabric around the back, then secure it with staples, keeping them away from the visible edge.
Use fasteners suited to the wall or bed frame, and follow their directions. If the headboard stands behind the bed, check that it cannot tip when you move the mattress.
Choose a plain fabric if the room already has busy prints. A wood finish can add character, while a painted shape can echo another color in the bedroom.
A painted geometric design on a ready-made board is an easier option than padding or fastening fabric. From the bed’s focal point, turn to a small furniture piece nearby.
4. Refresh a Thrifted Nightstand or Dresser
A secondhand nightstand can become the one contrasting piece beside a bed. Look for a sound shape with drawers that open smoothly and no major damage.
Small secondhand pieces can cost about $5-$20, and a thrifted piece plus refresh materials can be budgeted around $10-$20. Prices vary by location and condition, so inspect the furniture before bringing it home.
Measure the available area and check that drawers, doors, and legs work. Avoid pieces with signs of serious damage, strong odors, or unstable joints that need more repair than you can handle.
Paint a Clean, Sound Piece
Clean the piece with a suitable cleaner, then lightly sand where the finish and paint directions call for it. Protect the floor and remove hardware that could get in the way.
Apply paint as the label directs, including any needed primer and drying time. Let the finish cure as directed before loading drawers or setting objects on top.
Add Contact Paper or Change Small Details
Measure the top before cutting contact paper to fit. Leave a small margin for trimming, then smooth the material from one edge to reduce bubbles.
Test a discreet area first, since contact paper may not suit every finish. For a no-paint refresh, change the hardware or place a removable tray on top.
A dresser does not need to match the nightstand exactly. Repeat one finish, color, or metal detail elsewhere to link the pieces without buying a set.
| Refresh option | Surface preparation | What changes | Best fit |
|---|---|---|---|
| Paint | Clean and lightly sand if suitable | Color and finish | Sound wood or painted surfaces |
| Contact paper | Clean and test a hidden spot | Top pattern or color | Smooth, compatible surfaces |
| Hardware swap | Check hole spacing | Handles or knobs | Drawers with working slides |
| Keep finish, add accessories | Dust and check stability | Surface styling | Pieces you prefer not to alter |
Once the furniture feels like yours, bring personal photos and prints together in a coordinated gallery wall.
5. Put Together a DIY Gallery Wall
A gallery wall can make varied prints feel intentional when you repeat one frame color. Use what you have, including personal photos, existing frames, or printed images.
Check the wall type and frame weight before choosing hanging hardware. Lightweight prints may use removable products only when their instructions allow that use.
Lay the frames or prints on the floor first. Mix sizes, but leave enough room between pieces so the wall does not feel crowded.
Choose one visual link, such as black frames, warm wood, or a shared color in the prints. Different frame shapes can still work when that link repeats across the grouping.
A simple gallery-wall materials budget can be about $5-$10 if you already own most frames. Printing costs and the need for new hardware can change the total.
Try these checks before making holes or attaching prints:
- Keep a consistent visual link among the pieces.
- Test the layout on the floor before hanging.
- Leave breathing room around the full grouping.
- Use hanging hardware suited to each wall and frame.
For a bedroom, center the grouping above the bed or place it beside a desk. Keep the lowest frame high enough to avoid bumps from pillows or a chair.
Some DIY room decor ideas on a budget Pinterest users share lean on matched frames, but a repeated color works just as well. A gallery wall should suit your room, not copy a single layout.
Once the walls feel more personal, use layered lighting to make the room comfortable after daylight fades.
6. Make the Room Glow With DIY-Friendly Lighting
A single bright overhead light can feel stark, while two or more light sources give you options. Layer the light with a lamp or string lights instead of relying on the ceiling fixture alone.
String or fairy lights commonly cost about $8-$15. Warm white creates a softer feel, while colored lights can add a playful accent.
Hang String or Fairy Lights Safely
Place lights around a window, headboard, or shelf with hooks suited to the surface and product. Keep cords clear of walkways, bedding, and spots where they could snag.
Follow the light maker’s directions for use and placement. Do not cover bulbs with fabric, and unplug lights when their instructions call for it.
Restyle a Table Lamp or Plug-In Light
Clean and reposition a table lamp you already own. You can update its shade only with one that fits the lamp safely and suits its directions.
A plug-in wall light can free table space, but install and use it according to the product instructions. Do not alter wiring or try to turn a plug-in light into a hardwired fixture.
Renters can use freestanding lamps and removable hooks where the hook directions suit the wall and light weight. A floor lamp beside a chair can add a new pool of light without wall work.
| Light type | Useful placement | Effect | Setup note |
|---|---|---|---|
| String lights | Window, headboard, or shelf | Soft decorative glow | Keep cords clear and follow directions |
| Bedside table lamp | Nightstand or small table | Local reading light | Use a compatible shade |
| Plug-in wall light | Beside the bed or desk | Frees table space | Follow product instructions |
| Ceiling fixture and lamp | Overhead plus room corner | More flexible light | Use the existing fixture as directed |
Warm-white lighting can make a bedroom feel calmer at night. A personalized mirror can reflect some daylight around the room during the day.
7. Give a Plain Mirror a Decorative Makeover
A plain mirror can become a focal point with a refreshed frame. Keep the reflective glass clear and direct all paint or decorative work to the frame.
A basic mirror refresh can be planned around $10, such as a $5 thrifted mirror and $5 of decorative materials. Those are estimates, not guaranteed local prices.
Clean the mirror first, then paint a suitable frame or add removable decorative accents. Let paint and other finishes dry as their labels direct.
Do not paint or cover the reflective surface. If the frame has loose parts or cracked glass, choose another mirror or ask for help with safe repairs.
Think about what the mirror will show before fixing its position. A mirror opposite a window may reflect daylight, but the result depends on the room layout and view.
In a small bedroom, check the reflection from the doorway and the bed. A mirror can add a useful view or bounce light, but it does not make every space look larger.
Use a wall anchor or support suited to the mirror’s weight and wall type. A small tabletop mirror is an alternative if the wall cannot safely hold the piece.
After placing a mirror to suit the room, turn to the softness and height that window treatments can add.
8. Update a Window With Simple Fabric Details
Plain curtains can make a window feel taller when you hang them higher. Place the rod a few inches below the ceiling, if the window and room allow.
Panels about 1.5-2 times the window width can stack more fully at the sides. Check the rod’s fit and the fabric’s weight before hanging panels.
Use curtain panels you already own, or repurpose suitable fabric on a rod. The attachment method must suit the window, the fabric, and your rental rules.
Consider privacy before choosing a thin scarf or open weave. Light control depends on fabric weight and coverage, so no single treatment blocks all light.
| Option | Attachment | Light and privacy | Good use |
|---|---|---|---|
| Existing curtain panels | Suitable curtain rod | Depends on fabric and coverage | Everyday window framing |
| Repurposed fabric | Rod and suitable clips or loops | Varies by weight and width | Using fabric already at home |
| Scarf or fabric side accent | Rod or suitable support | Little privacy coverage | Decorative framing beside blinds |
Existing fabric is the no-purchase option, but check its size and condition first. Keep cloth away from heaters and other sources of heat.
A simple curtain color can tie the window to a bed throw or cushion without matching every textile. Leave enough room for panels to move as needed.
Once the window feels finished, create a small, contained display on a nightstand or dresser.
9. Style a Tray or Small Display With Everyday Items
Clearing most of a crowded dresser can make one small grouping stand out. Keep the useful surface open, and let a tray or defined area hold just a few things.
Trays, crates, or display pieces can run about $5-$25. You may not need to buy one; a wooden box or clean, dry candle jar can work when suitable.
Group useful items, such as a book, jewelry dish, small lamp, or framed photo. Pick only a few objects that you use or enjoy seeing each day.
Leave open space around the grouping so the nightstand still works for daily tasks. A tray also makes it easier to move the objects when you need the surface.
Use this checklist to shape a simple display:
- Clear the surface.
- Choose one tray or defined area.
- Combine useful and decorative objects.
- Leave room for daily use.
A low box can hold small items without hiding them completely. Check that containers are clean and dry, especially if they once held candles or food.
Give each item a reason to stay. If a piece blocks a drawer, lamp switch, or place for a glass, move it elsewhere.
When the display feels balanced, bring a little natural texture into it with a plant or simple planter.
10. Add a Plant or Make a Simple Planter
One small plant can make a bare shelf feel more lived-in. Start with one that suits the light and care you can provide.
Small plants or faux plants may cost about $5-$15. Prices vary, and a real plant also needs a suitable pot and care.
A thrifted teacup, jar, or basket can serve as an outer planter. Keep the plant in a pot that meets its drainage needs, and do not let water collect where it can damage furniture.
Choose a plant based on the light near its intended spot and how often you can water it. Check pet safety before bringing a plant into a home with animals.
Use a faux vine or paper leaf arrangement if you want greenery without care. A small group of leaves can add color without taking over the shelf.
Place a real plant near a window only if the light suits its needs. Avoid crowding the windowsill, especially if you need to open the window or reach a blind.
Once one natural accent has found its place, add soft, washable details to the bed.
11. Add Cozy Texture With Simple Bedding Updates
One contrasting texture can change the bed’s look without replacing a whole set. Use a small update that works with your existing color palette.
A throw blanket or accent cushion refresh can be about $15-$20, though local prices vary. You can also work with a clean fabric remnant or pillowcase already at home.
Make a No-Sew Pillow Cover
Measure an existing pillow insert and choose a clean, washable fabric remnant. Cut enough fabric to wrap around the insert, leaving an overlap that can close at the back.
Wrap the fabric like an envelope and secure the overlap so it stays closed during use. Keep pins or other sharp fasteners away from the sleeping side.
An existing pillowcase is the simplest alternative. Choose a color or pattern that connects to the bedding without making every pillow look the same.
Layer a Throw Without Overcrowding the Bed
Fold one throw across the foot of the bed or drape it over a chair. A neat fold gives the bed a finished edge, while a loose drape feels more casual.
Keep the throw’s color linked to the existing palette through a pillow, rug, or piece of art. A different texture can add interest even when the colors stay close.
A few pillows can add comfort, but too many make the bed harder to use. Leave room to sleep, and choose washable fabrics when the pieces need regular care.
Finish the project list with a free refresh that changes the room’s layout, not its inventory.
12. Rearrange Furniture and Reset the Room for Free
Shifting a chair and clearing a walkway can change how a bedroom works before you buy anything. Test one move at a time, and keep the route through the room clear.
Measure or mark furniture footprints before moving heavy pieces, and ask for help when you need it. Check door swings, outlets, cords, and clear paths before settling on a new layout.
Try moving the bed only if the new spot leaves room to walk and use the doors. A chair and small table may be easier to switch first.
A quick reset with things you already have can include books, framed photos, and a throw. Restyle an existing shelf with a few favorites, then leave space for items you use daily.
Use this four-step reset to make the change without buying supplies:
- Clear the walking path.
- Test one furniture move.
- Return only useful decor to open surfaces.
- Take a final view from the doorway.
Move smaller items before furniture, and protect the floor when shifting a heavy piece. Stop if a drawer, cord, or unstable leg could create a hazard.
Take a photo before and after from the same spot to compare the layout. A clearer path or easier reach can matter more than adding new decor.
Choose one project that fits your time, space, and spending limit.
Conclusion
A few intentional changes can make a room feel more personal and comfortable. The best choices fit your space, the materials you have, and the amount you can truly spend.
A thoughtful color palette, useful placement, and clear surfaces can make decor feel connected. You do not need to fill every shelf or match every piece to make a room feel cared for.
Pick one corner, check which materials are already available, and schedule a manageable first project. A small, clear start gives you room to enjoy the process and decide what the space needs next.